Motivation:
As we learn features and expand our application, things get complex and we go back at googling, wouldn't it be nice to have all information in 1 post from start to finish to build the Front end and Back end? Including managing environments, analytics, API, basically using every aspect of AWS using Amplify.
I'll begin with the Back End since that's the bone structure of any app.
Back End
We are going to be using everything Amplify offers, so let's go step by step as if it's a new project.
Setup Dev Environment
Make sure you have configured Amplify locally:

Create a project:
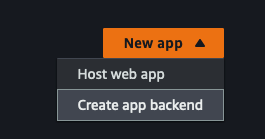
- Create a new app by doing
amplify initwhere you root project lives. or you could go to Amplify (I selected there my region, if you are in another one change it). - On the top right corner create a new app and select backend:
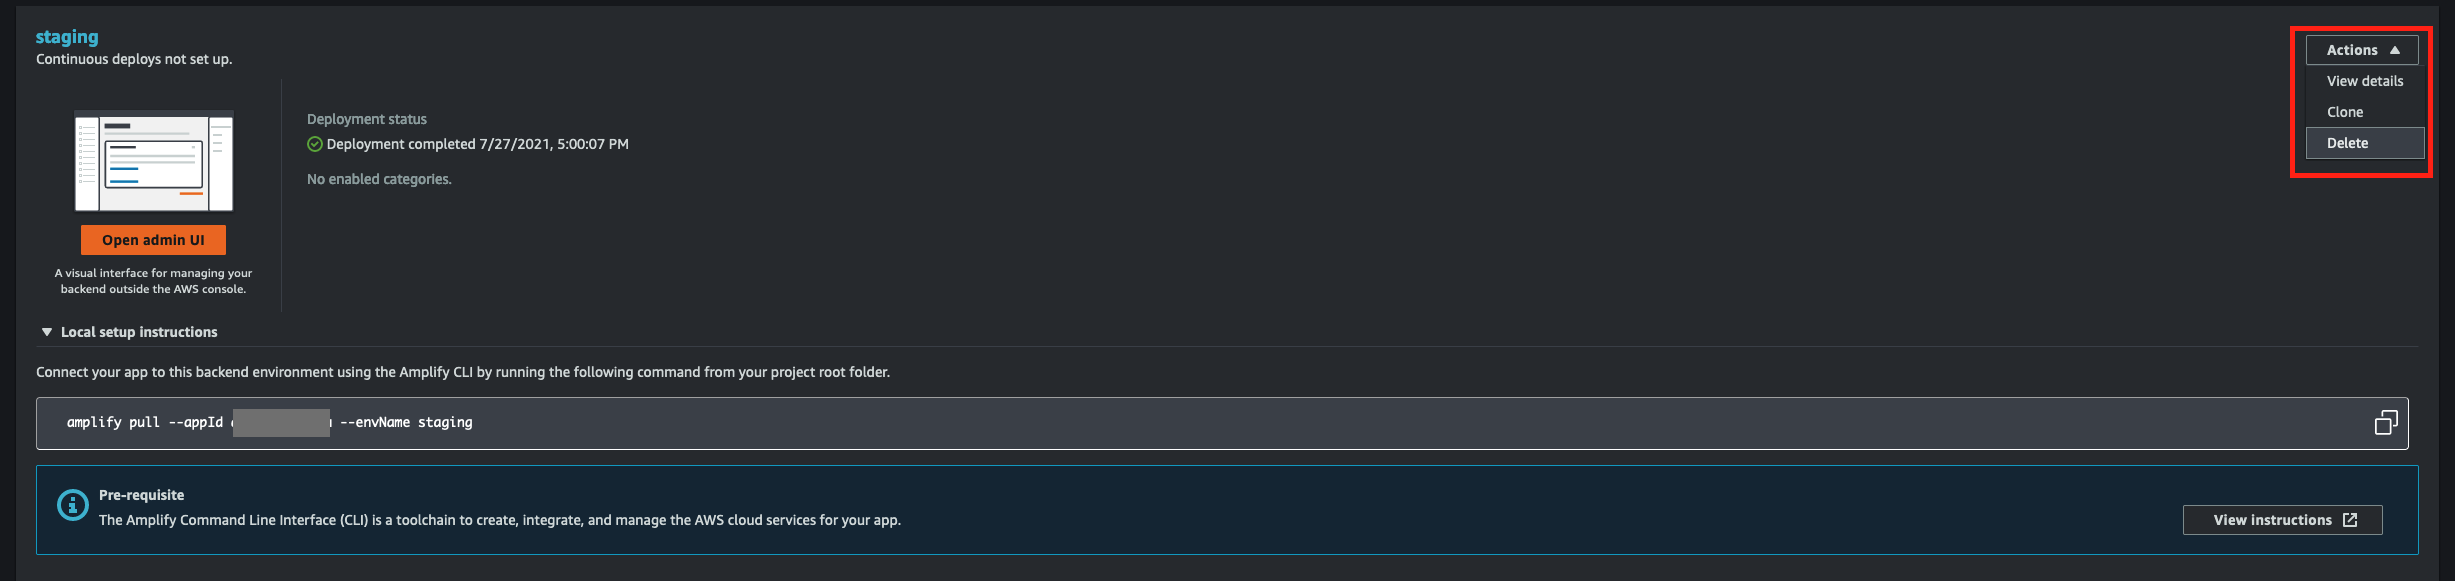
- On the tab Backend Environment unfold
Local setup instructions, copy that and paste it on the terminal on your local to pull the newly created project.
Create Prod and Lower environment
Goal: Have 1 environment for production that users can use and 1 environment for us to develop.
- Create a new environment by doing:
amplify env add, when prompted with "Select the authentication method you want to use", use "Amplify Admin UI". Give this env the name "prod" - Delete previous environment with name "staging, by typing
amplify consoleand selecting "amplify console": - Create a new environment by doing:
amplify env addand give this env the name "dev"
When ever you create a new environment, you switch to it automatically. You can check your current env, by doing Amplify statusNow you should have 2 environments.
Managing Amplify Environments
You can type amplify env to know the full list of commands. Here are some:
Example: amplify env checkout dev
- sync — Syncs your environment with the current cloud environment. This will allow you to pull down a newer version of the environment in which you are already working
- checkout <envname> — Moves your environment to the environment specified in the command
- list — Displays a list of all the environments in your Amplify project
- get — Displays the details of the environment specified in the command
- add — Adds an already existing Amplify project stack to your local backend
- remove — Removes an environment from the Amplify project
Clean Local changes
If you have messed up code because of switching back and forth between env. you can force pull from your checked out env like this:
amplify env pull --restore
Merge dev into prod environment
Let's assume you are in dev and you added a new feature, for example: amplify add api and you want to merge those changes. Simply do:
- Checkout prod env:
amplify env checkout prod - Commit changes:
amplify push
Add Auth
I recommend using the AdminUI for this task since this part is very buggy. Once you add it, do:
amplify pullto fetch the changes- Go to Cognito and customize things like validate email with link instead of code, etc.
For more references check here:

GraphQL API
Let's begin by adding an API
Once you create the Model, generate the models locally (in case of iOS):
amplify codegen modelsamplify codegen
Adding data to the API
You can use this DataStore documentation to add the data, if you include the API in when you configure Amplify in your project the data will sync up not only offline but also online.
Allow Visual Data Modeling
It's extremely useful to have a visual data modeling, that's why I'm enabling it.
- On your local terminal type
amplify consoleand select the option "Amplify admin UI" - Go to Data:
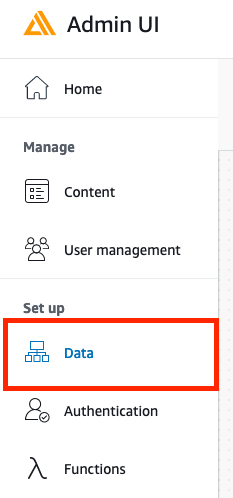
and choose the option deploy.
- On your terminal now fetch the changes, do
amplify pull
Add user to DynamoDB after Signup
Let's next allow our app to add a user to DynamoDB once the user signs up and confirms the email. That way, we have it linked up and we can add data to DynamoDB.
Example 1 - Amplify + iOS (SwiftUI)
If this Article was useful to you, consider donating in crypto: 0xa543273edBb21F00BcC8c4327b8EEF03cF73b56E
With love and respect,
Arturo 👨🏻💻
