Sidebars are really useful for navigating on bigger screen such as iPad's and the Mac's. We are going to take a look at how we can implement sidebars into a multi-platform SwiftUI app.
The more views you have on the part of the code below NavigationView { the more nested the content and it will create more views to the right of the app.Main file of your code
import SwiftUI
@main
struct Daily_PlannerApp: App {
var body: some Scene {
WindowGroup {
#if os(iOS) || os(watchOS) || os(tvOS)
iOS_TabBar()
#elseif os(macOS)
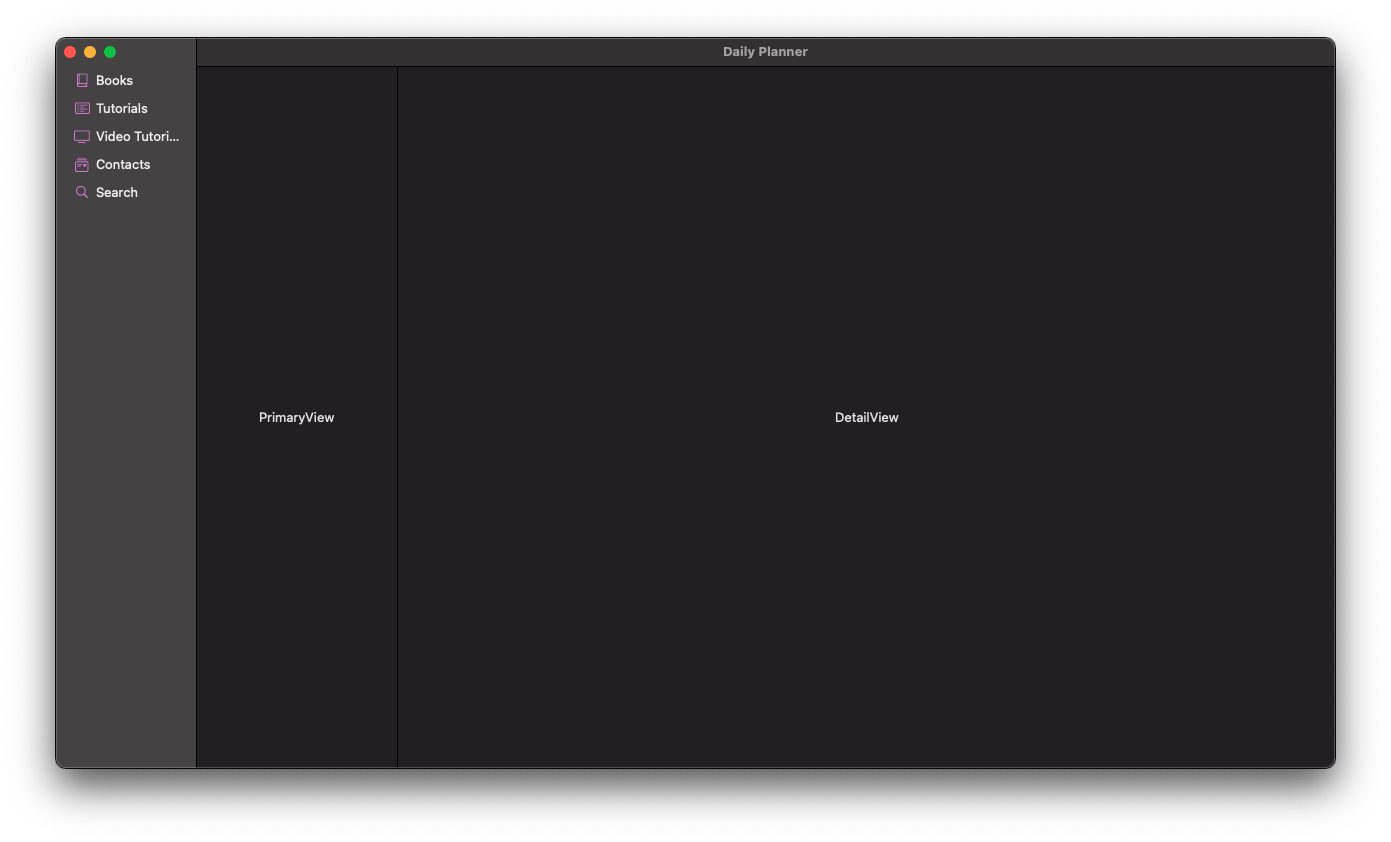
NavigationView {
macOS_SideBar()
PrimaryView()
DetailView()
}
#else
println("OMG, it's that mythical new Apple product!!!")
#endif
}
}
}
struct PrimaryView: View {
var body: some View {
Text("PrimaryView")
}
}
struct DetailView: View {
var body: some View {
Text("DetailView")
}
}
Code for the actual sidebar
import SwiftUI

struct macOS_SideBar: View {
    var body: some View {

            List {
                Label("Books", systemImage: "book.closed")
                Label("Tutorials", systemImage: "list.bullet.rectangle")
                Label("Video Tutorials", systemImage: "tv")
                Label("Contacts", systemImage: "mail.stack")
                Label("Search", systemImage: "magnifyingglass")
            }
            .listStyle(SidebarListStyle())
            .navigationTitle("Code")

    }
}