
Introduction:
We'll install version 5.7. There is an unsolved problem going on between the Node.js and MySQL authentication, the thing is that MySQL 8.0 uses a new default authentication plugin - caching_sha2_password - whereas MySQL 5.7 used a different one - mysql_native_password. Currently, the community Node.js drivers for MySQL don't support compatible client-side authentication mechanisms for the new server plugin. Here's a pull request in pipeline to properly address the issue.
So in order to work on your local Node.js environment, you will have to have MySQL 5.7 installed. I went through 2 ways on how to install it: brew and downloading it directly through the website , and the first one (brew) I do not recommend it since gives a lot of problems and it's time consuming to troubleshoot, see the problem with brew here. So we'll install it by downloading it through the website.
Install
Depending on your needs, you may want to install more or less. In my case, I'll install also the workbench to administrate my DB, if you have another app, you can skip this one.
MySQL Server
Go to the official page and select macOS as your Operating System, after that click on the right side where it seays: "Looking for previous GA versions?" and select version: 5.7.23 and choose the download type, my preference is DMG Archive. Go ahead and install it and remember to copy the password they will give you on the install.
MySQL Shell
To be able to interact with MySQL Server, we are going to install it's Shell. You can download it from here , for this one you don't need a specific version. Download it and install it.
MySQL Workbench
To administrate our DataBases we'll use the MySQL Workbench, you can get it from here.
Now that all that is installed, if you go to your terminal and you try to do something like mysql -u root -p it's not going to work. So you have two options:
- You can either go directly to the path like this:
/usr/local/mysql/bin/mysql -u root -pso you can enter on your MySQL monitor, but once you close the terminal you'll have to type all that again. A better solution is to export the path to be able to use the mysql command alone, this is how you export it: - There is a file in your root directory (to go to the root just type:
cd ~and hit enter) that is called.bash_profileand it's hidden, you need to open it and add a line. To open it, type:sudo vim .bash_profileand add the following:export PATH=/usr/local/mysql/bin:$PATH(if you are not familiar with vim, search for it's commands) now save and close and typesudo vim .bashrcto open the .bashrc file. Add the following line:export PATH=/usr/local/mysql/bin:$PATH
Now that you have exported the paths, reload your profile by typing: . ~/.bash_profile
Close your terminal and reopen it. Everything should be setup at this point so type: mysql -u root -p to access to MySQL monitor and you should get a screen like this:
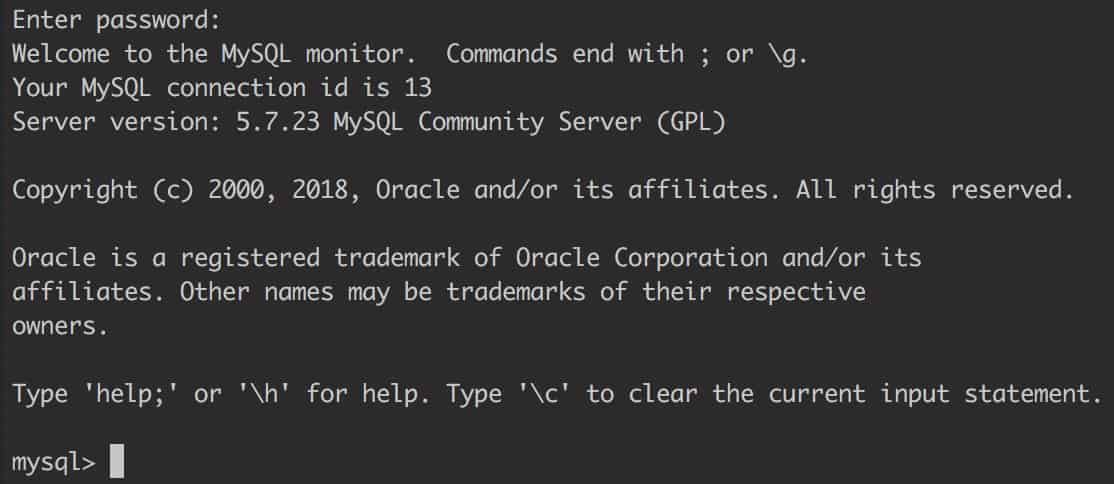
The next step is to change the root password. Remember when I told you to save it during the installation?
Once you are inside the MySQL monitor like the image above, type: ALTER USER 'root'@'localhost' IDENTIFIED BY 'MyNewPass'; that will change the temporary password to one of your choice.
That is all, I hope it was helpful and hopefully we can focus on producing and not debugging things like this. Best.
