A view that allows for switching between multiple child views using interactable user interface elements.
Updated for Xcode 12.0 and SwiftUI 2.0 ✅
Quick way:
In your @main include the following to create a menu:
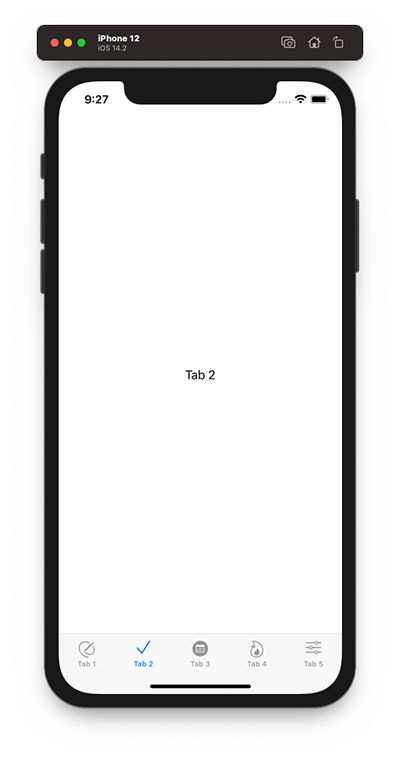
Screenshot
Reveal Code
@State private var selectedTab = 2

var body: some Scene {
    WindowGroup {
            VStack {
                TabView(selection: $selectedTab) {
                    Text("Tab 1")
                        .tabItem {
                            Image(systemName: "pencil.and.outline")
                            Text("Tab 1")
                        }
                        .tag(0)

                    Text("Tab 2")
                        .tabItem {
                            Image(systemName: "checkmark")
                            Text("Tab 2")
                        }
                        .tag(1)

                    ContentView()
                        .environment(\.managedObjectContext, persistenceController.container.viewContext)
                        .onTapGesture {
                            self.selectedTab = 1
                        }
                        .tabItem {
                            Image(systemName: "calendar.circle.fill")
                            Text("Tab 3")
                        }
                        .tag(2)

                    Text("Tab 3")
                        .tabItem {
                            Image(systemName: "flame")
                            Text("Tab 4")
                        }
                        .tag(3)

                    Text("Tab 3")
                        .tabItem {
                            Image(systemName: "slider.horizontal.3")
                            Text("Tab 5")
                        }
                        .tag(4)
                }
            }
    }
}
Better way
It should look like this:

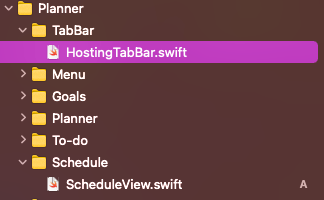
Setep 1: Create a SwiftUI view file for each tab view of the tab bar. To keep your project organized, you can put them in a separate group. Like this:
Step 2: Next, create a new SwiftUI view file called “HostingTabBar”. This HostingTabBar should be the entrance/root view when your app gets launched.
Now add it to the @main on your project, it you look like this:
@main
struct TabBarApp: App {
    var body: some Scene {
        WindowGroup {
            HostingTabBar()
        }
    }
}
Step 3: Next, we add an enum to our HostingTabBar, which we use to represent our tab bar’s different views. We also declare a State property that we can use to monitor and programmatically control, which Tab is currently shown. We also add a TabView instance to our HostingTabBar. For this, we bind the selectedTab State to the initialized TabView. Next, initialize the different tab views and using the .tabItem modifier, you can now design the individual tab items.
struct HostingTabBar: View {

    /// Core Data shared controller
    let persistenceController = PersistenceController.shared

    @State private var selectedTab = 2

    var body: some View {
        VStack {
            TabView(selection: $selectedTab) {
                Text("Tab 1")
                    .tabItem {
                        Image(systemName: "pencil.and.outline")
                        Text("Planner")
                    }
                    .tag(0)

                Text("Tab 2")
                    .tabItem {
                        Image(systemName: "checkmark")
                        Text("To-dos")
                    }
                    .tag(1)

                ScheduleView()
                    .environment(\.managedObjectContext, persistenceController.container.viewContext)
                    .onTapGesture {
//                        self.selectedTab = 2
                    }
                    .tabItem {
                        Image(systemName: "calendar.circle.fill")
                        Text("Schedule")
                    }
                    .tag(2)

                Text("Tab 3")
                    .tabItem {
                        Image(systemName: "flame")
                        Text("Goals")
                    }
                    .tag(3)

                Text("Tab 3")
                    .tabItem {
                        Image(systemName: "slider.horizontal.3")
                        Text("Menu")
                    }
                    .tag(4)
            }
        }
    }
}
