When you want to communicate between different screens it is very common to use one of the two patterns, either:
- Delegate protocols
This is a one to one communication method, one view communicates to another view. - Notifications and observers
This is a one-many patter. So you can have 1 observer and 10 different notifications pointing to that one observer.
In this article I'll be focusing on the Delegate pattern.
Delegate is a pattern widely used in iOS development to exchange messages between objects. It allows an object to communicate back with its owner.
How does it work?
Imagine you have screen 1VC and 2VC. Delegation works for passing data back from 1VC to 2VC
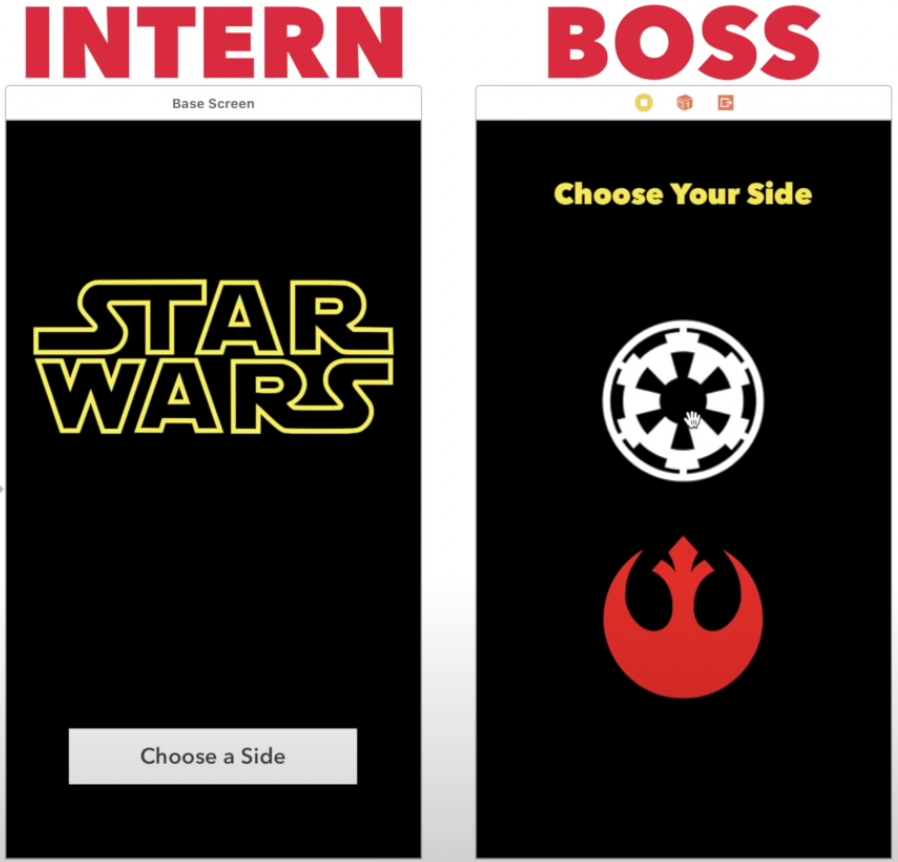
I'll use the analogy from Sean which I think is awesome. Imagine you have 2 screens. Once you tap on Choose a Side it goes to the "boss" screen to pick an image. So, for example, the intern would be your UIViewController and Boss your UITableViewCell. Here are their roles:
- Intern
Doesn't know how to do the actions, he's just waiting for the boss' orders. - Boss
The boss knows about what needs to be done and how to do it.
Delegate functions
You can add as many functions as you'd like, for now I'll add only one. So to the analogy of the intern/boos, we are going to add the functions to our boss:
Naming: Apple's naming pattern is to name the protocol with the name of the class and ending in Delegate.
protocol MyViewTableCellViewDelegate: AnyObject {
    func didTapButton()
}
Next create the delegate that will be used to communicate ("the intern")
weak var delegate: MyViewTableCellViewDelegate?
Next create the function of what you want the delegate to do once it's called ("what you want the intern to do"). So we are sending information back to the intern based on some things the boss did.
@objc func goToBossPage(sender: UIButton) {
    delegate.didTapButton()
}
Conforming to the protocol on the main view
Now that you created the protocol, it's time to use it on yourUIViewController. Think of it like "the intern getting the job"
Let's supposed the UIViewController is called MyViewViewController. Create an extension like:
extension MyViewViewController: MyViewTableCellViewDelegate {
    func didTapButton(buttonName: String) {
        guard let navigationController = navigationController else { return }
        present(BossView(), animate: true, completion: nil)
    }
}
If you are using a UITableView on at the time of the cell setup, make sure you assign the delegate, pay attention to setupMyBossCell where the delegate is assigned to self:
public func tableView(_ tableView: UITableView, cellForRowAt indexPath: IndexPath) -> UITableViewCell {
    var tableViewCell: UITableViewCell
    guard let sectionName = sectionNameAt(section: indexPath.section) else { return UITableViewCell() }
    if let mySections = MySectionEnum(rawValue: sectionName) {
        switch mySections {
        case .myBossSection:
            tableViewCell = setupMyBossCell(indexPath)
        }
    } else {
        guard let delegate = delegate else { return UITableViewCell() }
        tableViewCell = delegate.cellAt(indexPath: indexPath, tableView: tableView)
    }
    return tableViewCell
}

private func setupMyBossCell(_ indexPath: IndexPath) -> UITableViewCell {
    guard let cell = tableView.dequeueReusableCell(withIdentifier: MyBossCell.reuseIdentifier, for: indexPath) as? MyBossCell else { return UITableViewCell() }
    cell.delegate = self
    return cell
}
If you are using another UIViewController or any other kind of View to display the boss page and not , just create a function and call it on the init(), again assigning the delegate to self, something like:
// This is an example with storyboard, programatically is very similar
func chooseButtonTapped(_ sender: UIButton) {
    let selectionVC = storyboard?.instantiateViewController(withIdentifier: "SelectionScreen") as! SelectionScreen
    selectionVC.delegate = self
    present(selectionVC, animate: true, completion: nil)
}